
Getting Started
If you have a computer, a printer, and Microsoft Word, it's possible to print your own book from cover to cover. The hardest part of the process is understanding the Page Setup in Microsoft Word. In Book Binding 101, the Unbreakable Book Spine, we will cover how to layout Word, printing your book, paper choices, as well as how to bind it once you have finished printing. We will also discuss using a multi-purpose fixture that I designed which will make the whole project a bit easier as well as giving the book a very professional look.
The end result of this tutorial is a book that measures 5-1/2"
wide x 8-1/2" high. The reason for this size is that a normal
sheet of 8-1/2 x 11" paper when folded in two creates the above
dimension. In addition to this, Microsoft Word is much easier to
set up to print to that size, first printing the text on one
side of each page and then the batch is re-inserted into the
printer and it prints the other side, leaving a gap in the
middle which is called the gutter.
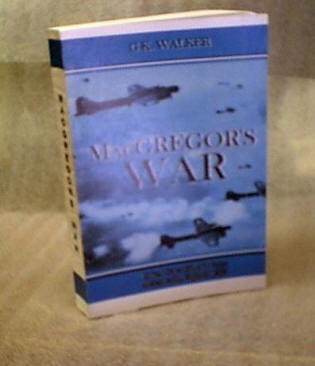
If you look at the spine on the above image, you can see that
the paper is rippled. After much trial and error, I found out
that the spine end of the book has to be on a flat surface and
supported on both sides so that the glue dries more slowly. For
my books pages, I used extra bright copy paper. 20 lb, 8-1/2" x
11 " that I got from Office Depot but any letter size paper will
work. Next let's have a look at how to use
Microsoft Word