
Using MS Word to Print Your Book
When you first open Microsoft Word, the first thing you see
is a big sheet of paper ready to be typed on. While this is ok
for most documents, it is of no use when setting up the page for
typing a book. The very first thing you have to do is click on
File>Page Set Up. Once you do that, the window you see below
opens where you have options to set the margins, paper, and
layout.
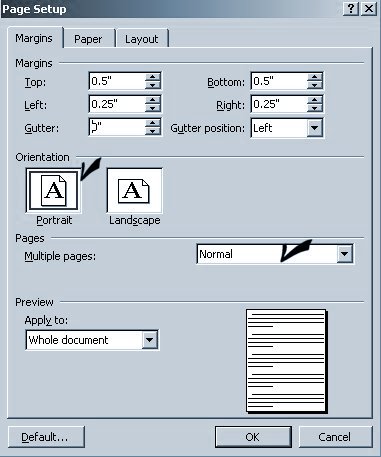
As you can see above, the preview setup is for a single page in
Portrait View so we need to make all of the changes that you see
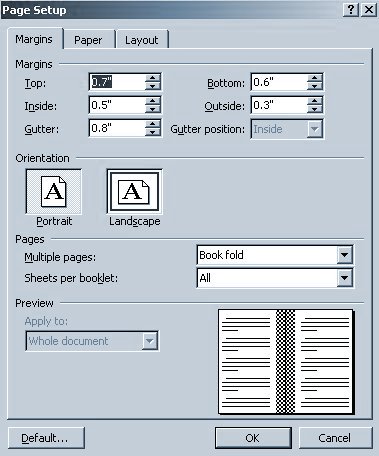
below so that we can type on both sides of the sheet. Notice
below to the right of multiple pages, we have set the drop down
to "Book fold". This changes the orientation from Portrait to
Landscape. The margin settings that you see below will work well
with a Georgia Font, regular, 12px or smaller. Using a smaller
the font allows more text per page but becomes increasingly
harder for the end user to read. I have found Georgia to be a
very good book font. You may want to experiment with the margins
and font until you get the desired results you want for the type
of book you are printing.
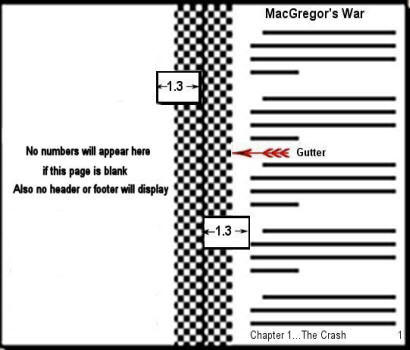
If we blow the preview up several times, you can see how the
0.8" gutter setting affects the gutter area of the page. It is
desirable to have this area about 1.3" wide (inside margin 0.5"
+ gutter 0.8" = about 1.3") and the outside margins .3" wide.
Making this setting will allow the reader to better see the text
near the center of the book without having to force spread the
book open wide.
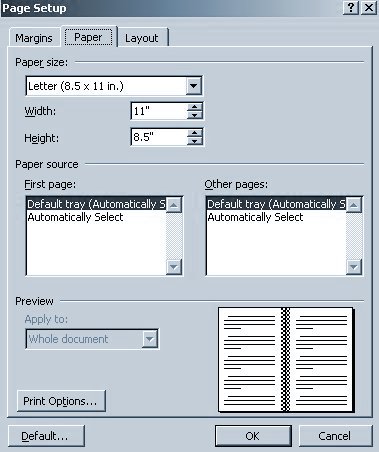
Next, click on the Paper tab and the window you see below will
open. Our paper size will be 8-1/2 x 11 in. Notice that 11" is
now the width because we are in landscape orientation.
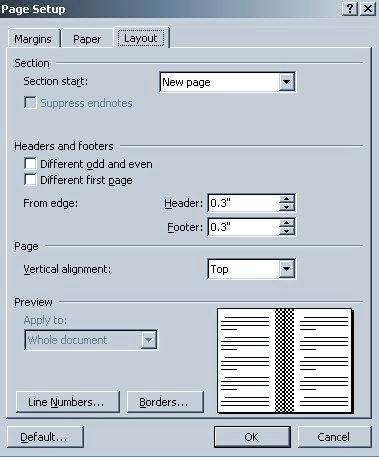
When you click on Layout, you can set the Header and Footer
height. The header allows you space to place the page numbers as
well as the title of you book or whatever you want up there. The
page numbers can also be at the bottom of the page in the footer
if so desired. You may want to experiment with the header and
footer settings until you get the desired results you are
looking for.
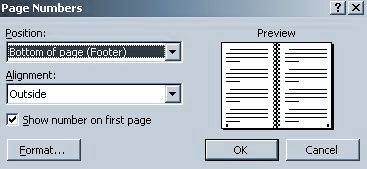
Next, click on Insert>Page Numbers and the window you see below
will open. As you can see, I have selected the footer with an
outside alignment for the location and it is shown with the two
dots in the preview.
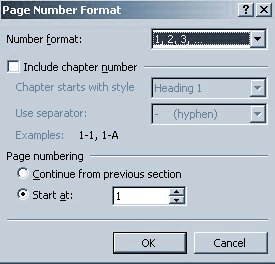
If this is your first chapter, click on the Format tab above.
This will open the window you see below. Set the page number to
start at page 1 as shown below. If you have 28 pages in the
first chapter, your next chapter will start with page 29. It is
best to end a chapter on an even number and start a new chapter
with an odd number. This may require you to have a blank page at
the end of the chapter. To get the blank page, just place the
cursor below the last text and keep hitting enter until a new
blank page displays.
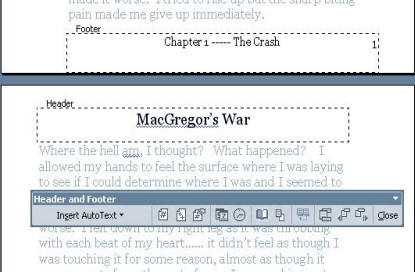
To place text in the header, Click on View>Header and Footer and
it will open the page you are working on. If you highlight the
text in the header or footer, you can set the font to what ever
you want. The numbers will automatically be entered as you go
from page to page. You can also change the font of the numbers
by highlighting the number whenever the header is open as you
see below and selecting Format>Font. If you delete a number, it
deletes all of the numbers on all of the pages in the current
chapter and you will have to go through the procedure outlined
above to set the numbers sequence again.
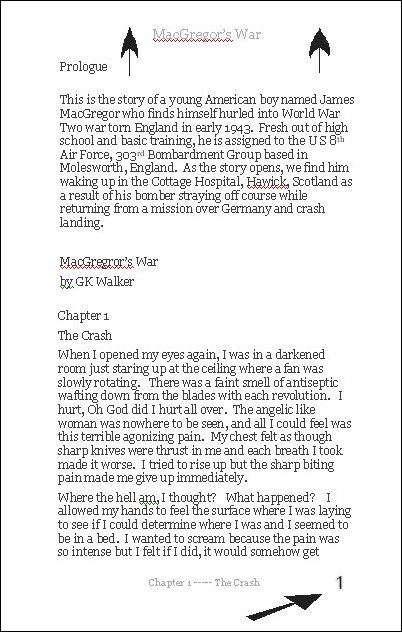
After you type in the text, your page will look something like
the one below. This will be the first and last page of your
chapter when the page is folded. No numbers or header will
appear on the last page of the chapter if the page is left
blank.
Once you have completed the page setup, you are ready to begin
typing your book. As you begin typing, you can use preview to
see what your printed pages will look like. Word will
automatically take you to your next page and place the numbers,
headers and footers that you have designated. Remember to start
your chapter on an odd number and end it on an even number. When
you are all done with the chapter, preview it to make sure you
have it the way you want and then click on print. This will
bring up a window on your screen that will look something like
the one below.
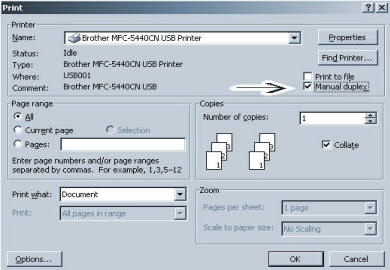
Before you click OK to print, make sure you have the Manual
Duplex setting checked. This is the function that starts the
first side printing and then allows you to print on the other
side of the paper. When you click OK, another window will pop up
as shown below.
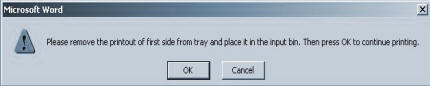
Important ! Move this pane out of the way until one side of your
pages have printed. Do not click the OK button on this pane
until your first side has printed out and you have placed the
pages back in the printer to print the other side. This is the
function that starts the reverse pages to print. When the first
side has completed printing, you want to stack them in order
1-3-5-7-9 etc; with page 1 being on top as you see below....feed
the paper in the direction of the arrows.
Whenever you have completed typing a chapter, you will have
what is called a "signature" and it is usually made up of 4 or
more sheets of paper folded in half to make 16 pages as you see
below. This can of course be longer or shorter depending on how
much text there is in each chapter. It is not a good idea to
have more than 6 sheets or 24 pages in one signature. The reason
for this is that the inner pages of the signature progressively
stick out further with each additional page that is added. This
is the effect that you get when the page is folded
![]() so if you have 30 or so chapters, it becomes all hills and
valleys and requires much more sanding to smooth out the pages
when using the sanding fixture.
so if you have 30 or so chapters, it becomes all hills and
valleys and requires much more sanding to smooth out the pages
when using the sanding fixture.
The next step is to assemble all of these signatures in order
and begin the binding process